Here we go...
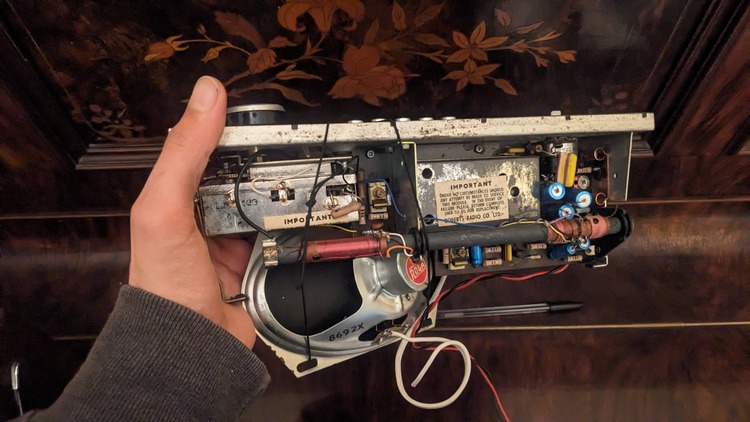
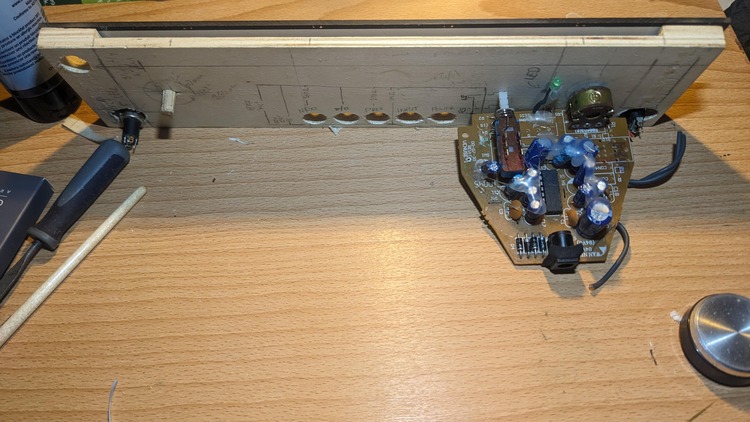
First step was to remove the internal gubbins which I want to keep and maybe make work and put in a clear case so you can see the 55 year old circuit boards, this was fairly easy - the bottom of the casing slides off and all of this can be removed by undoing a couple of screws
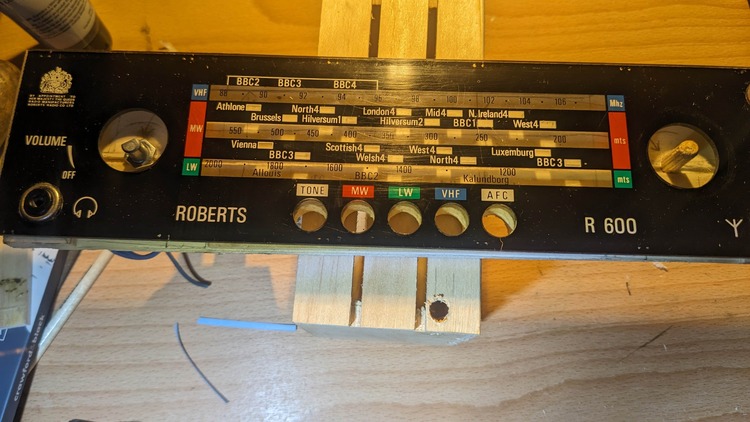
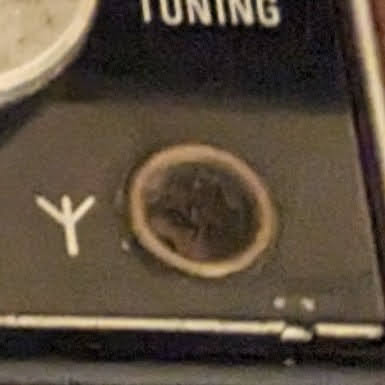
This hole on the original radio is for plugging in an external aerial - for example, if you're using it in a car
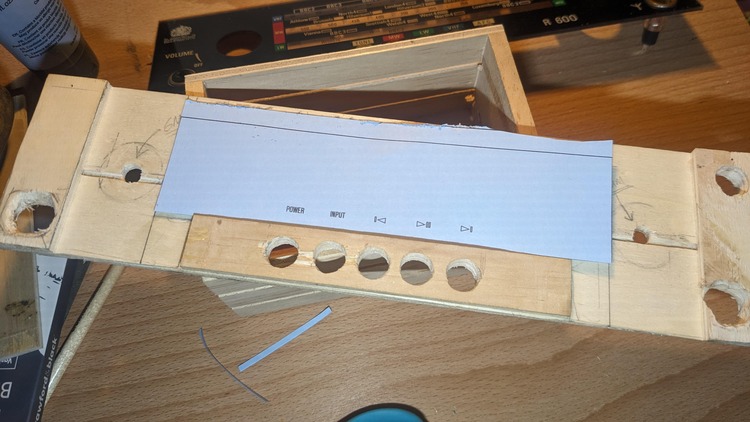
I decided I wanted to use some of the buttons as play/pause/skip controls, my thinking being a physical button is much better to use while driving along than illegally using a phone and taking your eyes off the road, plus it means everything still looks pretty "vintage" and it's just nice to have the buttons do something. I found out how they work with a bit of research - including this project by George Smart, which I'm basically planning to copy - and the plan is to make my own set of controls so that these buttons do previous - play/pause - next
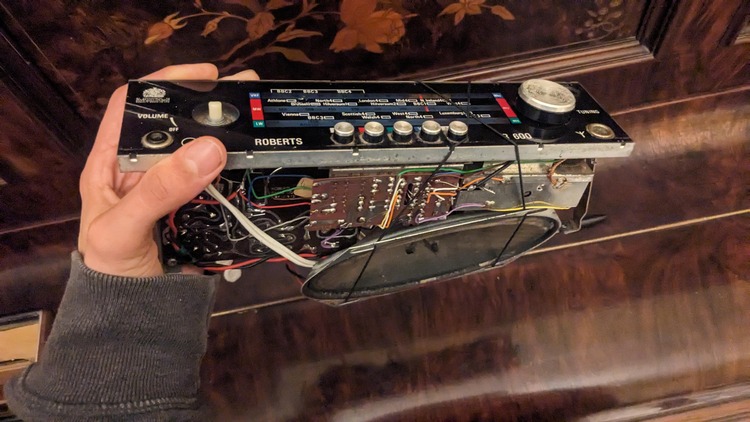
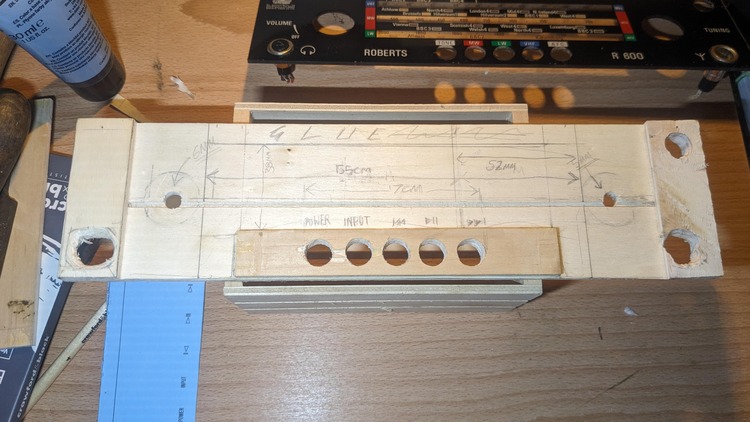
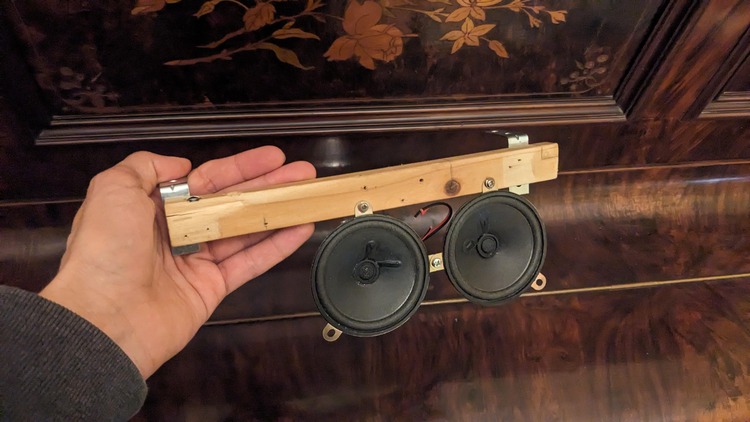
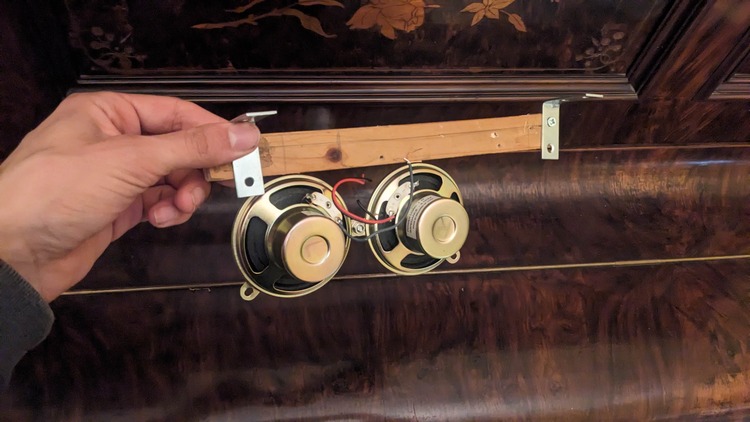
Behind that top plastic panel I've made a wooden one (out of a broken storage crate) to attach everything to:
These are the speakers taken out of the old computer speakers from the first family PC (back when computers were big and off-white)

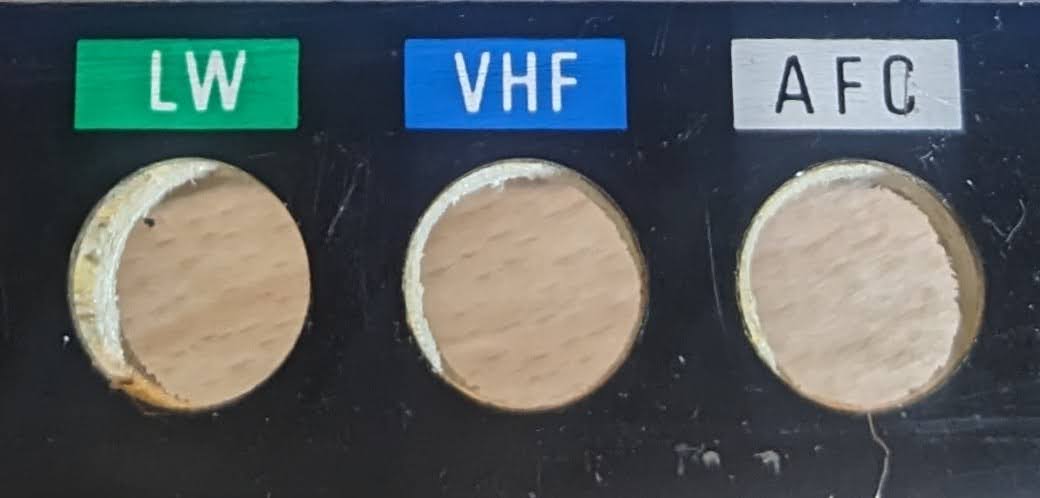
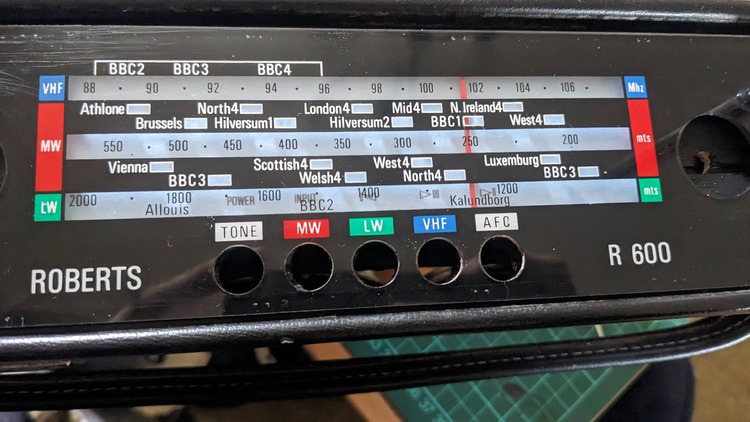
MW will, if everything else goes to plan, be a button to switch between two inputs:
- The socket on the top
- A cheap iPod I got from Cex, hidden inside, which I'm going to load with late 60s/early 70s tunes and early Radio 1 jingles from the same era (I found some to download) so it's almost like having the radio back when it was new.

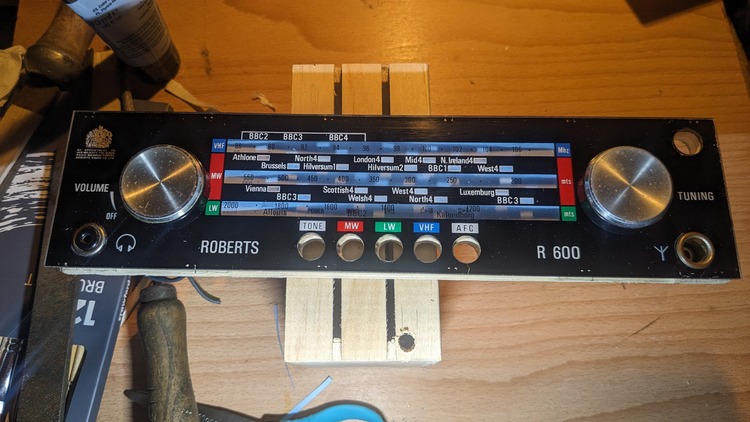
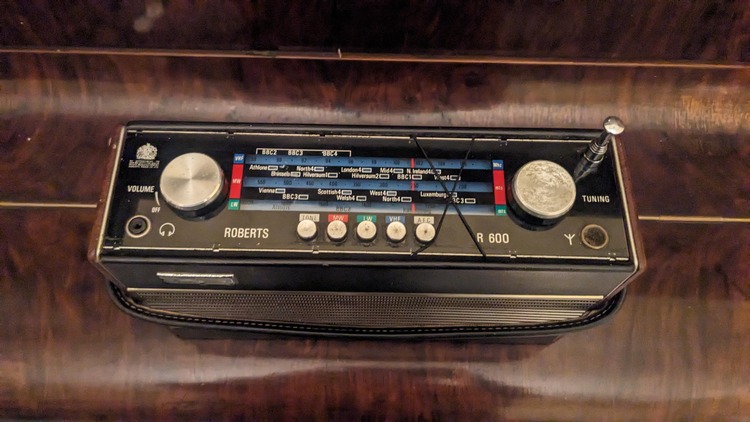
As well as the new top panel, I later found on eBay original tuning and volume knobs and the push buttons for the switches which solved the problem I'd had of finding suitable alternatives. They came rather entertainingly packaged in old cigarette packaging inside a chocolate box (I took a video of unwrapping them, I must add that at some point)
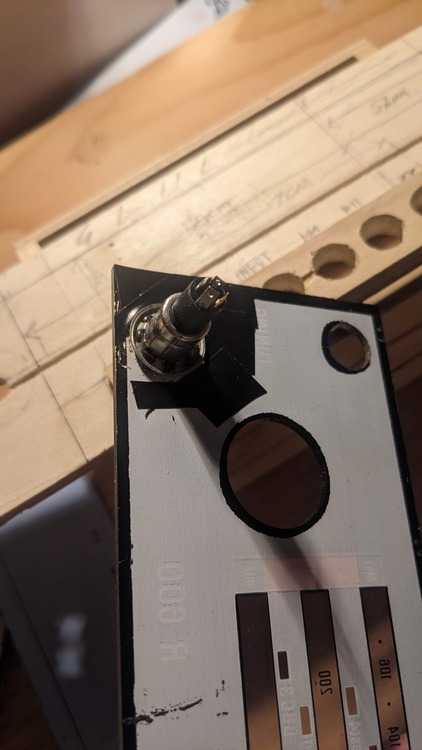
the volume knob was almost a perfect fit to the stem of the control from the old PC speakers - a little bit of tape made for a snug fit, and the tuning knob slotted nicely onto a bit of dowel I found (I would like to find a function for the tuning knob, but for now it's just there for looks)